Successful red dot zeroing Michigan shooters arrange begins before live fire. The optic must be compatible and securely installed, the intended lawful use must define an appropriate confirmation plan, and the shooter must produce reliable groups before changing settings. An indoor range can provide controlled lighting and distance for initial work, but it cannot validate performance at distances it does not offer.
This guide focuses on planning, safety, documentation, and professional support rather than model-specific adjustment instructions. Follow the optic and firearm manufacturers’ current manuals.
Define what “zero” means
A zero is the relationship between the sight’s aiming reference and the projectile’s point of impact at a defined distance under defined conditions. It is not a setting that makes every distance identical.
Sight height, ammunition, firearm, barrel, velocity, and distance all influence results. Changing ammunition can change point of impact. A red dot zeroing Michigan plan must therefore identify the exact firearm, optic, load, and purpose.
If you do not know which distance suits your lawful activity, ask a qualified instructor or gunsmith. Avoid copying a number from a video without understanding its assumptions.
Confirm optic compatibility
The optic, mounting plate, screws, firearm cut, and backup sights must be compatible. A part that seems to fit can still use incorrect thread pitch, length, or geometry.
Read both manufacturer manuals and check approved combinations. Using the wrong screw can damage the firearm or interfere with internal operation. Incorrect plate selection can create movement or failure.
Range 313 offers optic mounting and firearm services for setups requiring professional tools and verification.
Install according to specifications
Mounting may require cleaning surfaces, using specified fasteners, applying an approved compound, and tightening to exact manufacturer values. “Hand tight” is not a specification.
Do not substitute hardware or stack plates unless the manufacturer approves it. Do not use permanent adhesive to compensate for poor fit.
If tools or values are unfamiliar, use a gunsmith. Reliable red dot zeroing Michigan work cannot begin from an unstable mount.
Verify firearm and optic condition
Before the range, inspect for visible damage, loose parts, obstructed lenses, low battery, or controls that do not work normally. Install a fresh reputable battery when appropriate and carry a spare.
Confirm the firearm has completed any required post-installation safety check. Keep live ammunition out of the maintenance workspace.
If the optic shifts when lightly handled or the slide, mount, or controls behave unexpectedly, stop and return to the installer.
Select approved ammunition consistently
Use ammunition the firearm manufacturer permits and the range approves. Bring original packaging. Use the same load throughout the confirmation process so ammunition is not an uncontrolled variable.
Different loads can produce different points of impact. Once a zero is established, document the exact product. If you change, confirm again rather than assuming identical results.
Contact Range 313’s indoor range before bringing unfamiliar ammunition or a rifle configuration.
Start with safe range setup
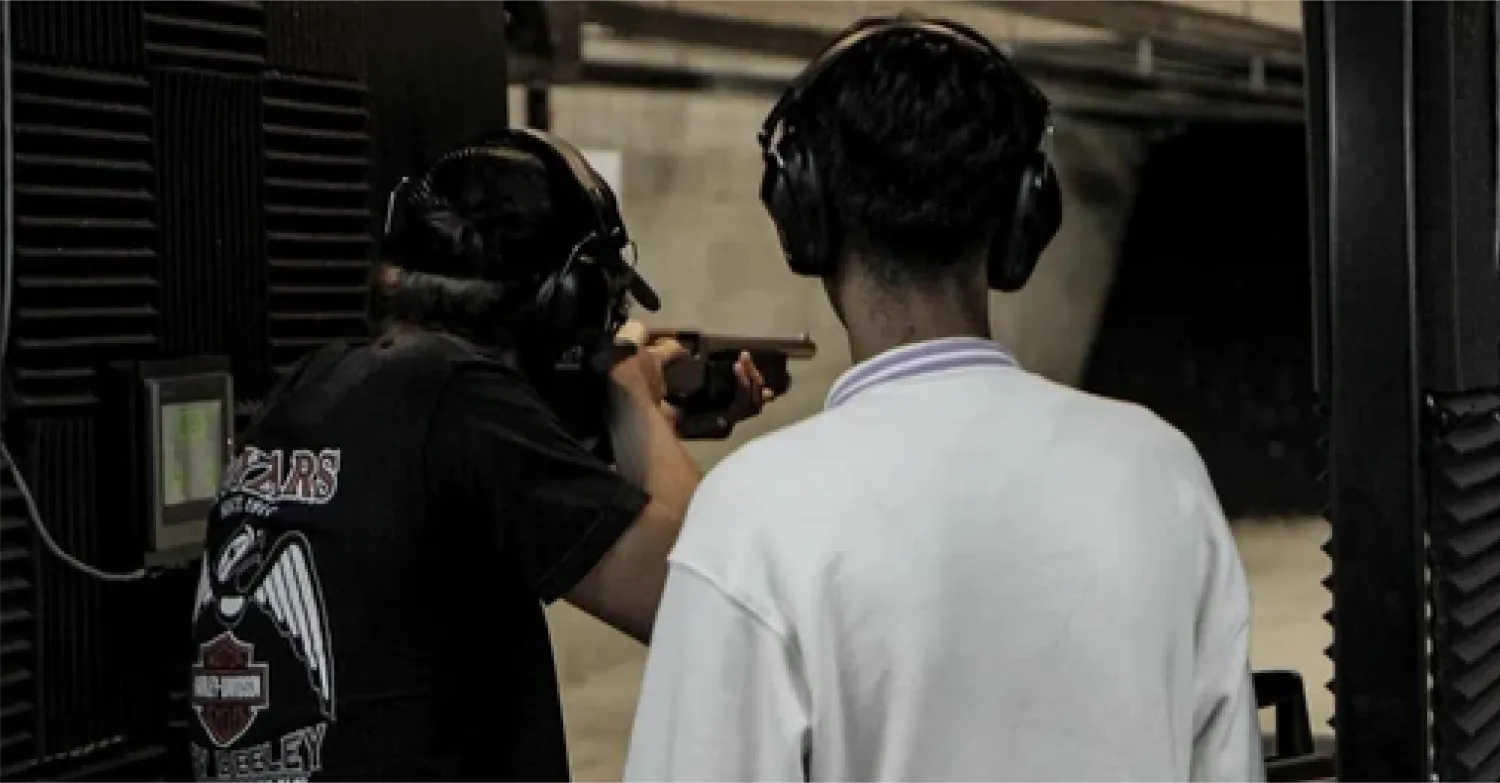
Transport the firearm lawfully and keep it cased until the assigned bench. Wear eye and hearing protection. Review range rules and disclose that you are confirming an optic.
Use a clear target suitable for the optic and distance. Follow minimum target-distance rules. Organize the bench with only necessary ammunition, magazines, tools, and notes.
The Michigan DNR range rules illustrate the importance of approved targets, safe direction, and staff commands. Your facility’s rules control.
Stabilize the shooting process
The target reflects both equipment and shooter movement. Use a stable supported position permitted by the facility. Maintain consistent grip, support, visual focus, and aiming point.
Avoid resting an inappropriate firearm component on a hard surface. Ask staff or an instructor about approved supports.
If you cannot produce a useful group, instruction may be more valuable than adjustment. Our pistol training fundamentals explain how deliberate groups support diagnosis.
Use groups, not individual holes
Fire a small, careful group without moving the aiming point or changing settings. A pattern is more informative than one shot. Mark or photograph the group and record the distance.
If the group is scattered, pause. Confirm mount stability, technique, target visibility, and ammunition. Adjusting the optic to chase each hole creates confusion.
Only after a reliable group exists should measured correction be considered under the optic manual or qualified guidance.
Make one measured change at a time
Optic controls differ in direction, value, locking method, and tactile feedback. Follow the exact manual. Record the starting setting and each change.
Change one axis or one variable at a time. Fire another group before deciding whether the correction worked. Do not assume labels are viewed from the target rather than the shooter; use the manufacturer’s explanation.
If controls feel damaged, skip, or fail to produce expected movement, stop and seek service.
Confirm rather than over-adjust
Once groups are centered for the chosen plan, fire additional confirmation groups without touching the optic. Consistency matters more than creating one perfect hole.
Allow equipment to cool if heat is affecting results. Maintain the same ammunition and support. Record final target, distance, and date.
A red dot zeroing Michigan session should end with evidence you can revisit, not a vague memory that it “looked good.”
Understand indoor distance limits
Indoor ranges offer stable conditions but finite distance. A result at one distance does not automatically predict every farther point of impact. Rifles and specialized lawful uses may require outdoor confirmation.
Use reputable ballistic information as planning context, then verify at an appropriate facility and actual distance. Environmental conditions outdoors can produce additional differences.
The Michigan DNR range directory lists facilities with varied distances. Confirm rules and openings directly.
Co-witness and sight picture considerations
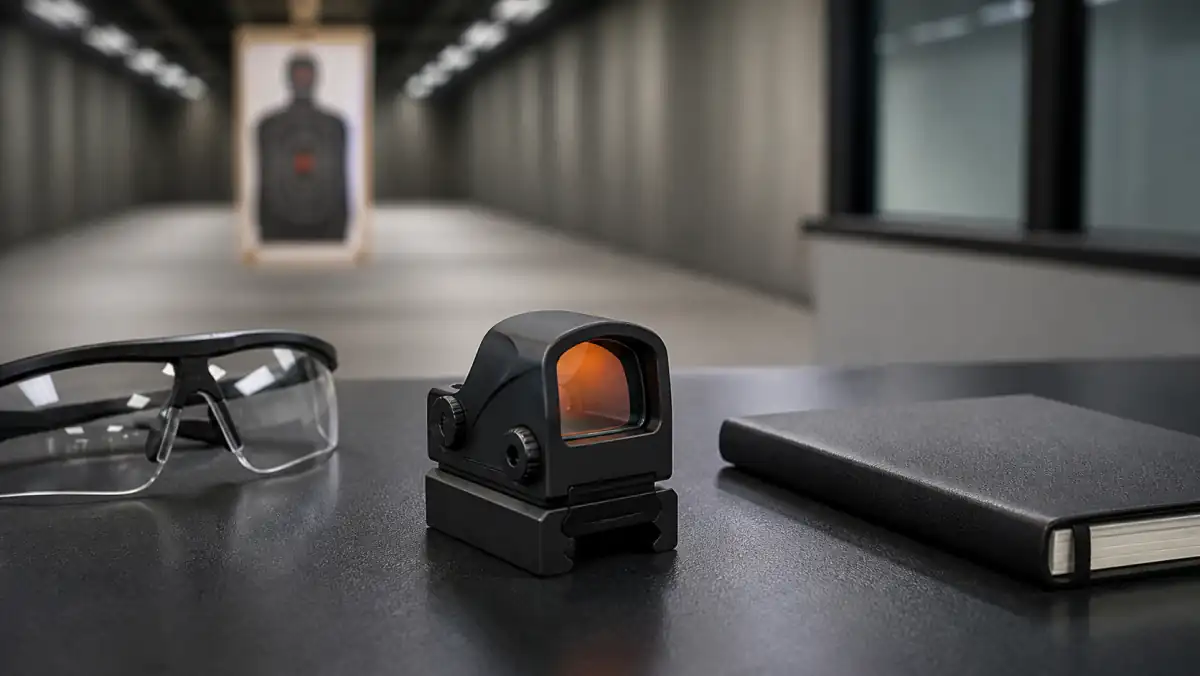
Backup iron sights may appear in the optic window depending on firearm, plate, and sight height. Compatibility and visibility should be evaluated before purchase and installation.
Do not assume the dot must sit on top of the iron sights in every correctly configured system. The optic and iron sights are separate aiming systems, and manufacturer or instructor guidance should control setup.
If the sight picture is obstructed or uncomfortable, discuss plate and sight options with a gunsmith rather than altering parts yourself.
Brightness and visual presentation
Set brightness so the dot is visible without excessive bloom that obscures the target. Vision conditions such as astigmatism can make dots appear distorted. Different emitters or reticle styles may look different to different eyes.
Clean the lens using approved methods. A dirty or fogged lens can create misleading visual effects.
An eye-care professional can address vision concerns. A retailer or instructor can provide equipment comparison but not medical diagnosis.
Reconfirm after changes or impact
Reconfirm whenever the optic is removed, the mount is changed, fasteners loosen, the firearm experiences impact, ammunition changes, or groups shift unexpectedly. Also check periodically as part of maintenance.
Witness marks may help reveal movement when applied appropriately, but they do not replace torque or inspection.
Keep a log of battery changes, mounting service, settings, ammunition, and confirmation targets.
Protect hearing and follow hygiene practices
Wear eye and hearing protection throughout live fire. Indoor firearm noise is intense, and CDC/NIOSH discusses double hearing protection in its range safety guidance .
Do not eat or drink on the firing line. Wash hands and face with cold water and soap before eating. Keep range equipment away from kitchens and children’s spaces.
Good optic work does not excuse poor range health habits.
When to use professional zeroing support
Seek help when installation is unfamiliar, groups remain inconsistent, settings do not respond, fasteners move, the firearm behaves unexpectedly, or the intended distance exceeds your experience.
A qualified professional can separate shooter, ammunition, mount, and optic variables more efficiently. Professional support is especially valuable after major parts changes.
Stop live fire immediately for any mechanical or safety concern.
Red dot zeroing Michigan checklist
Define the purpose, confirm compatibility, install to specifications, inspect condition, and choose one approved ammunition. At the range, organize a stable setup, fire careful groups, record changes, and confirm results. Recheck after impact, parts changes, or ammunition changes.
Red dot zeroing Michigan shooters can trust comes from disciplined measurement and stable equipment—not constant adjustment. When uncertainty exceeds your training, use a qualified gunsmith or instructor.
Create a durable zero record
Keep a simple record that another qualified person could understand. Note the firearm make and model, optic, mounting plate, installation date, ammunition manufacturer and loading, target distance, support position, date, and final confirmation result. Attach a photograph of the final target and the gunsmith invoice when professional mounting was performed.
Record battery type and replacement date. If the optic offers several reticles or brightness settings, note what was used during confirmation without treating brightness as a mechanical zero setting. Mark any future impact, removal, hardware change, or unexplained shift in the same record.
Before the next important range session, compare the current setup with the record. Confirm that fasteners and witness marks appear unchanged without applying unapproved tools or force. Fire a deliberate confirmation group using the documented ammunition. If results differ, stop changing multiple variables and ask what changed since the last record.
This documentation is particularly helpful when one optic moves between service, training, and seasonal storage. Red dot zeroing Michigan conditions may change across indoor and outdoor sessions, but the record preserves a reliable baseline and makes professional diagnosis faster.