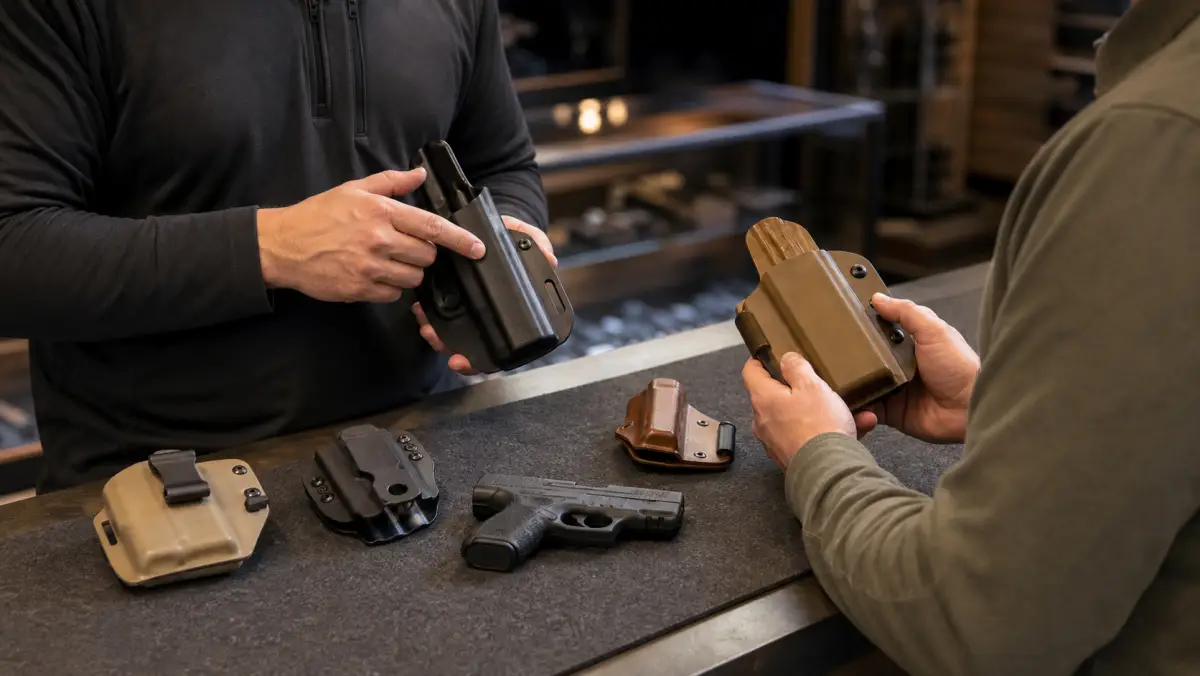
A properly fitting holster is more than a pouch that holds a handgun. It must match the exact firearm and configuration, protect the trigger area, retain the firearm for the intended lawful activity, attach securely to the correct belt or platform, and remain stable through normal movement. A poor fit can press controls, expose the trigger, collapse, shift, or release the firearm unexpectedly.
This Michigan guide explains how new buyers in Lincoln Park, Detroit, Dearborn, Allen Park, Southgate, Taylor, Wyandotte, and throughout Metro Detroit can evaluate holster fit without turning the process into unsupervised draw practice.
A holster does not authorize anyone to carry a firearm. Licensing, prohibited premises, private-property policies, vehicle rules, impairment restrictions, and other laws remain separate. Verify current Michigan requirements before selecting equipment for carry.
Properly fitting holster checklist
| Fit question | Pass condition | Reason to reject or pause |
|---|---|---|
| Exact model | Manufacturer lists the precise firearm and configuration | Listing says only “compact,” caliber, or “fits most” |
| Trigger area | Completely protected when fully seated | Trigger or guard can be reached through a gap |
| Controls | No pressure on trigger, safety, magazine release, or other controls | Any control moves, binds, or contacts the shell |
| Retention | Works exactly as the holster maker documents | Firearm falls out, binds, or needs improvised adjustment |
| Muzzle and slide | Fully supported according to design without obstruction | Barrel, slide, optic, or sight collides unexpectedly |
| Attachment | Matches belt/platform width and remains stable | Clip or loop shifts, releases, or rides on an incompatible belt |
| Material | Maintains intended shape and is free from damage | Mouth collapses, leather deforms, screws loosen, or fabric frays |
| Clothing clearance | Nothing can enter the holster mouth | Drawstrings, jacket tabs, or other objects can press controls |
| Range use | Facility permits the planned activity | Range prohibits drawing or requires instructor approval |
| Training | Qualified instructor has inspected the setup | Buyer intends to learn from trial and error |
Why exact holster fit matters
Two handguns can share a caliber and general size while having different trigger guards, slides, controls, barrel lengths, sights, optics, frames, rails, and accessory dimensions. A properly fitting holster accommodates those exact features without creating unsafe contact or gaps.
Holster manufacturers publish fit charts because model names matter. Safariland’s current holster fit charts , for example, direct shoppers to identify firearm model and barrel length before locating compatible holster models. That source supports a general buying principle, not an endorsement of one brand: use the manufacturer’s current exact-fit documentation.
“Fits Glock,” “fits compact pistols,” or “fits 9mm” is incomplete. Even within one product family, generations and variants can differ.
The wrong holster may:
- Leave part of the trigger guard open.
- Press a manual safety, magazine release, or slide stop.
- Fail to seat because of an optic or tall sights.
- Depend on an installed light for retention when the light is absent.
- Be too loose for a model with different frame dimensions.
- Bind around an extended control or threaded barrel.
- Shift on a belt that is too narrow or flexible.
- Collapse after the firearm is removed.
Never cut, heat, stretch, drill, or pad a holster to force compatibility unless the manufacturer specifically provides that adjustment procedure. Improvised changes can destroy the conditions under which the product was designed.
Step 1: Define the lawful purpose
Start with the activity, not the holster style. The equipment needed for an approved beginner class may differ from lawful concealed carry, open carry, competition, hunting, field work, or professional duty use.
Write one sentence:
“I need this holster for ______ under ______ rules.”
Then identify every authority that controls the activity:
- Current Michigan law.
- Rules in any other jurisdiction the owner may enter.
- Private-property policy.
- Employer policy.
- Range or competition policy.
- Instructor requirements.
- Manufacturer limitations.
Michigan State Police maintains a current firearms and CPL portal covering licensing, prohibited premises, reciprocity, impairment restrictions, forms, and official resources. The agency also cautions that its records unit does not provide individualized legal interpretations. Consult qualified counsel or the appropriate authority when facts are uncertain.
A properly fitting holster cannot correct an unlawful location, ineligible person, invalid license, prohibited activity, or lack of permission.
Step 2: Record the exact firearm configuration
Before shopping, write down:
- Manufacturer.
- Complete model and variant.
- Product generation or revision.
- Barrel length.
- Chambering.
- Frame size.
- Manual-safety configuration.
- Optic manufacturer and model.
- Sight height.
- Firearm-mounted light or laser, if present.
- Threaded barrel or compensator, if supported.
- Left- or right-handed configuration requirements.
Use the firearm manual, box label, manufacturer website, and serial-number-aware customer support where appropriate. Do not publish the serial number or storage details.
An optic-ready pistol without an optic may need a different holster listing from the same pistol with a large optic installed. A light-bearing holster may retain the firearm through the light or surrounding geometry. If the listed light is removed, retention may change.
The handgun terminology guide explains slide, frame, chamber, barrel, trigger guard, optic-ready, rail, safety, model, generation, and SKU language new buyers encounter.
Do not order until the holster maker confirms the whole configuration.
Step 3: Choose the holster category
Holster categories describe mounting location and intended activity. Common terms include:
- IWB: inside-the-waistband.
- OWB: outside-the-waistband.
- Appendix: an IWB position toward the front of the body.
- Strong-side: positioned on the same side as the dominant hand.
- Cross-draw: positioned for access by the opposite-side hand path.
- Shoulder holster: supported by a harness around the shoulders.
- Ankle holster: attached around the lower leg.
- Chest or field holster: mounted across the torso for specified outdoor uses.
- Duty holster: built around professional equipment and retention requirements.
- Competition holster: designed for a particular sport and rule set.
- Pocket holster: intended for a compatible pocket and firearm.
These labels do not prove safety or legality. Each category creates different risks involving muzzle orientation, trigger protection, clothing, access, retention, comfort, vehicle use, and people nearby.
New buyers should not select a carry position from an online popularity ranking. Discuss body shape, mobility, work, seating, clothing, medical devices, lawful context, and training with a qualified instructor.
A properly fitting holster for one category may be inappropriate in another.
Step 4: Require complete trigger-area protection
When the firearm is fully seated, the holster should prevent fingers, clothing, drawstrings, keys, clips, and ordinary objects from contacting the trigger.
Reject a holster when:
- Any part of the trigger is visible or reachable.
- A gap exposes the trigger guard because the shell is for another model.
- Flexible material can fold or press inward.
- The mouth collapses and can enter the trigger area.
- A missing firearm-mounted accessory creates open space.
- The trigger guard is used as a retention point but does not engage as designed.
- Wear, heat, moisture, or deformation has changed the opening.
The goal is not merely covering the trigger from one camera angle. Protection must remain effective while the holster is worn, seated, moved normally, and attached to the intended platform.
ATF’s current firearm safety and security guidance emphasizes safe muzzle direction and keeping the finger outside the trigger guard unless intending to fire. A holster supports that safety system; it never replaces it.
Do not put fingers inside an occupied holster to test coverage. Inspect externally in a controlled, unloaded setup under qualified guidance.
Step 5: Match retention to the activity
Retention is the system that keeps the firearm in the holster until the authorized user deliberately releases it according to the product design.
Passive retention
Passive retention commonly uses precise molding, friction, or tension around specified firearm geometry. Some holsters allow manufacturer-approved tension adjustment.
Active retention
Active retention uses a separate hood, lever, strap, lock, or other mechanism that must be intentionally disengaged. Professional-duty contexts may require defined retention systems and organizational approval.
Do not assume “Level I,” “Level II,” or “Level III” means the same thing across every brand. Ask which standard or manufacturer test supports the label.
The right retention depends on:
- Activity and environment.
- Range or employer requirements.
- Expected movement.
- Public exposure.
- Clothing.
- Physical ability.
- Training.
- Manufacturer compatibility.
Do not defeat an active mechanism, remove a strap, loosen screws beyond specification, or lubricate the holster to make access faster. A properly fitting holster should function within the documented adjustment range.
Never test retention with a loaded firearm. Do not violently shake, throw, or invert a holstered firearm as a social-media “test.” Follow the manufacturer’s check procedure in a safe, controlled environment.
Step 6: Match the belt and attachment
The best holster shell can fail as a system when attached to the wrong belt.
Attachment types include:
- Belt loops.
- Over-the-belt clips.
- Under-belt hooks.
- Paddles.
- Soft loops.
- Mounting forks or plates.
- Harnesses.
- Pocket or ankle structures.
Confirm:
- Exact belt-width range.
- Belt thickness and stiffness.
- Clip or loop engagement.
- Mounting hardware torque and thread treatment, if specified.
- Ride height and cant adjustment range.
- Whether the attachment is removable without unthreading the belt.
- Whether the system is approved for the activity.
- Whether an undershirt or other barrier is required for comfort.
A dress belt may fold, twist, or allow the holster to rotate. A belt that is too thick may prevent the clip from closing. A belt that is too narrow may allow vertical movement.
Do not wedge material around the clip or add hardware from a home-improvement store. Use manufacturer-approved attachment components.
The properly fitting holster and belt should be evaluated as one system.
Step 7: Perform an unloaded fit check
Fit checks require a controlled environment, a safe direction, the exact firearm and holster manuals, and no live ammunition in the work area. A complete beginner should ask a qualified instructor or store professional to perform or supervise the check.
Before any fit evaluation:
- Remove live ammunition from the area.
- Prevent children, visitors, and interruptions from entering.
- Follow the firearm manufacturer’s exact unloading and status-verification procedure.
- Maintain safe direction and trigger-finger discipline.
- Inspect the holster for damage, debris, loose hardware, or foreign objects.
- Confirm the holster label matches the recorded firearm configuration.
The check should establish whether the unloaded firearm seats as designed, the trigger area is protected, controls remain untouched, sights and optic clear the body, retention engages properly, and removal follows the maker’s intended path without abnormal force.
Stop if:
- The firearm does not seat fully.
- Unusual force is required.
- A control moves.
- The trigger area remains exposed.
- The optic, sight, barrel, or accessory collides.
- Retention does not engage or release normally.
- The holster flexes, collapses, cracks, or shifts.
Do not “break in” an incompatible holster by repeatedly forcing the firearm into it. Leather break-in and tension adjustments must follow the manufacturer’s exact instructions.
Step 8: Check clothing and body interference
A properly fitting holster can still become unsafe when clothing or body-worn items enter its mouth or press against controls.
Check for:
- Jacket drawstrings.
- Hoodie cords.
- Shirt hems.
- Belt keepers.
- Zippers and snaps.
- Pocket contents.
- Bag straps.
- Seatbelt hardware.
- Medical devices.
- Mobility aids.
- Jewelry.
- Loose fabric.
The owner should be able to sit, stand, bend moderately, and move through normal daily positions without the attachment releasing, the holster rotating, the trigger area becoming exposed, or hardware causing injury.
Comfort matters because painful equipment is adjusted, shifted, or abandoned. However, comfort cannot justify an unsafe position, exposed trigger, weak attachment, or unstable retention.
Do not test movement with a loaded firearm. A qualified instructor can use an inert training device or another approved method before live-fire work.
Step 9: Get qualified holster instruction
Buying a properly fitting holster does not create safe holster skills. Drawing and reholstering introduce moments when clothing, fingers, speed, attention, and muzzle direction can create risk.
A qualified course should address:
- Prerequisites.
- Range rules.
- Equipment inspection.
- Safe direction in the facility.
- Trigger-finger discipline.
- Deliberate use of the retention system.
- Clothing management under supervision.
- A slow, controlled learning progression.
- Conditions that require stopping.
- Reholstering only when the instructor and activity permit it.
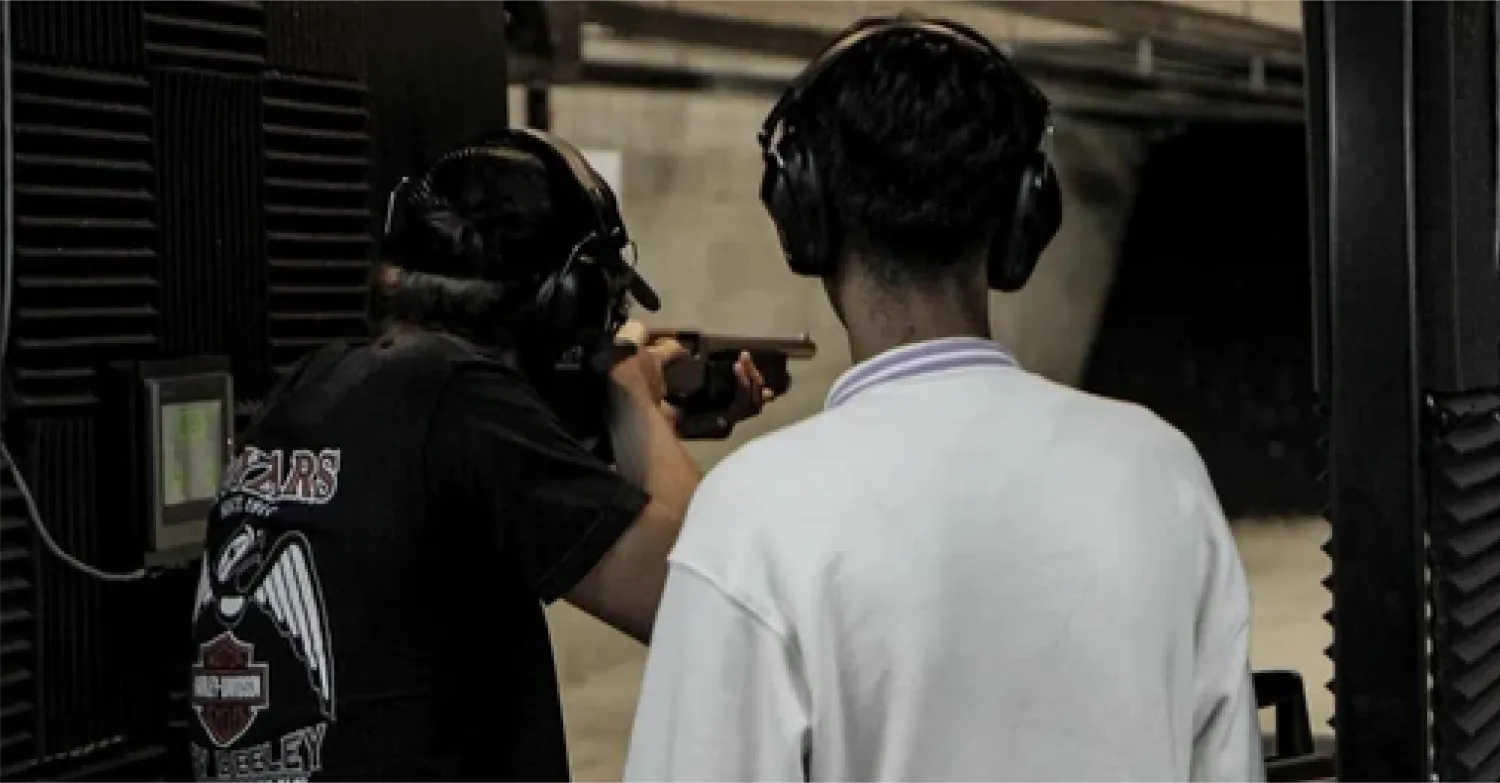
Range 313 lists firearms training options across experience levels. Contact the team to ask whether a course includes holster work, which equipment is permitted, what prerequisites apply, and whether an instructor should inspect the setup before class.
Do not arrive at an ordinary lane and assume drawing is allowed. Many indoor ranges restrict or prohibit unsupervised holster use.
Step 10: Inspect and reassess regularly
Holsters wear. Firearms change. Bodies, clothing, activities, and laws change too.
Before use, inspect:
- Cracks, splits, cuts, or fraying.
- Deformed or collapsed openings.
- Loose screws, posts, clips, snaps, or loops.
- Retention changes.
- Foreign objects or debris.
- Moisture, corrosion, or chemical damage.
- Leather softening or stretching.
- Sharp edges.
- Trigger-area gaps.
- Optic or sight contact.
Reverify fit after:
- Adding or removing an optic.
- Adding or removing a firearm-mounted light.
- Changing sights, barrel, controls, or grip components.
- Repair or refinishing.
- Switching belts or attachments.
- Significant body or clothing changes.
- A fall or impact.
- Long storage.
- Manufacturer recall or fit-chart revision.
Stop using the holster when the properly fitting holster criteria are no longer met. Do not keep damaged equipment as a backup.
Holster materials: rigid polymer, leather, hybrid, and fabric
Rigid molded polymer
Thermoplastic and injection-molded holsters can be formed for an exact model and may provide a stable opening and defined retention. Heat can deform some materials, and cracks or incorrect molding can create sharp edges or gaps.
Leather
Quality leather can be durable and comfortable but can soften, stretch, absorb moisture, or collapse if neglected. Use only the manufacturer’s care and break-in method. Never apply random oils or chemicals that can weaken structure or contaminate the firearm.
Hybrid
Hybrid designs combine materials, often a rigid shell with a flexible backing. Evaluate the whole trigger area, attachment, backing, and retention—not only the shell.
Fabric or nylon
Some fabric holsters serve specified purposes, but generic flexible pouches can collapse or fit too many models loosely. A “fits most” description requires especially careful scrutiny.
No material automatically creates a properly fitting holster. Design, exact compatibility, condition, construction, and use matter more than category loyalty.
Common fit problems
The trigger guard is partly visible
Reject the combination. The holster is not providing complete protection.
The firearm rocks or rattles excessively
Confirm the exact fit listing and adjustment instructions. Do not stuff material into the shell.
The firearm is extremely difficult to seat or remove
Stop. Check model, configuration, obstructions, retention mechanism, and manufacturer adjustment. Do not force it.
The magazine releases in the holster
The shell or body position may be pressing the magazine release. Stop using the combination.
The manual safety changes position
Any holster contact that moves a control requires immediate rejection or manufacturer review.
The optic strikes the holster
Use a product specifically listed for the optic and firearm combination. Do not cut the opening at home.
The clip comes off the belt
Confirm belt width, thickness, clip design, and installation. The attachment may be incompatible or damaged.
Clothing enters during reholstering
Stop. This requires equipment review and qualified instruction—not faster repetition.
IWB versus OWB: how fit priorities differ
An inside-the-waistband holster sits between the body and waistband. Body pressure and clothing can affect the holster, clip, and opening. Comfort, sweat protection, clip security, belt stiffness, trigger coverage, and the ability to keep fabric away from the mouth are important.
An outside-the-waistband holster sits outside the waistband. It may offer easier shell access and more mounting options, but concealment, garment interaction, public exposure, and retention require consideration.
Neither is automatically safer. A properly fitting holster in either category needs:
- Exact firearm compatibility.
- Trigger-area protection.
- Stable attachment.
- Suitable retention.
- Control clearance.
- Training.
- Compliance with law and policy.
Do not choose a category because an online personality says everyone should carry in one position. Individual anatomy, mobility, clothing, employment, lawful purpose, and training can change the answer.
Handedness and accessibility
Left-hand and right-hand holsters are usually different products. Some are reversible, but only when the manufacturer explicitly provides that configuration.
Buyers with limited strength, hand function, shoulder mobility, seated work, wheelchair use, medical devices, or other access needs should consult an instructor experienced with accommodations. A physical or occupational therapist may help with movement limits, while the firearms instructor addresses the equipment and range task. Neither should work outside their scope.
Do not compensate for limited mobility by accepting an exposed trigger, cross-body muzzle path, loose attachment, or inaccessible retention device.
The best properly fitting holster supports the individual without weakening universal safety requirements.
A holster is not a complete storage system
A holstered firearm may still be accessible to a child, visitor, roommate, or unauthorized person. A belt clip, retention strap, or locked vehicle door does not automatically meet secure-storage requirements.
When the firearm is not under immediate lawful control, return it to the planned safe, lockbox, locking cabinet, or other compliant storage system. Keep keys, codes, and access devices controlled.
Michigan’s secure-storage law resource explains current requirements when a minor is present or likely to be present. Review the law and official guidance for definitions and exceptions.
Storage must accommodate the holster and any approved accessories without pressing the trigger area or controls. Some owners remove the unloaded firearm from the holster before storage; others use a container designed for the holstered configuration. Follow manufacturer instructions and the household plan.
Online ordering and return-policy questions
Before ordering, capture the complete product listing and ask:
- Is my exact firearm manufacturer, model, generation, and barrel length listed?
- Is my optic specifically supported?
- Is my exact light or laser required or supported?
- Does the holster fit my safety and control configuration?
- Is it left- or right-handed?
- Which belt widths and attachment hardware are supported?
- What retention system is included?
- What adjustments are manufacturer-approved?
- Can it be returned after an unloaded fit check?
- Who pays return shipping?
- Does modification void the return or warranty?
- Is the seller authorized by the manufacturer?
Avoid used holsters with unknown heat exposure, altered shells, missing hardware, improvised holes, softened leather, or no readable model marking.
The new-owner firearm accessories guide explains why holsters and other purpose-specific equipment usually follow secure storage, protection, training, ammunition, and maintenance in the first-year budget.
Properly fitting holster questions at Range 313
Range 313 offers firearms, holsters, magazines, optics, secure-storage products, training, rentals, and gunsmithing support at 1125 Fort Street in Lincoln Park.
Bring the exact model information and current configuration when shopping. If bringing the firearm is necessary for a fit question, call first and follow staff’s exact transport and check-in instructions. Keep it unloaded, secured, and cased according to applicable law and policy; do not uncase it at the retail counter without explicit direction.
Review Range 313’s firearms and accessory information and call (313) 436-0197 before traveling for a specific item or course. Inventory, fit availability, prices, and training schedules change.
The team serves customers from Detroit, Dearborn, Allen Park, Southgate, Taylor, Wyandotte, Riverview, Trenton, and across Downriver.
About the author
The Range 313 Team works with first-time buyers, rental customers, students, firearm owners, and experienced target shooters at an indoor range, training facility, retail showroom, and service counter in Lincoln Park, Michigan. Staff see why holster selection must connect product fit, lawful purpose, range policy, secure storage, and qualified training rather than stop at “the firearm goes inside.”
This guide provides general education, not individualized legal advice, compatibility confirmation, or live-fire instruction. Verify current Michigan law, exact manufacturer fit documentation, facility rules, and personal circumstances before carrying or using a holster.
The responsible choice
A properly fitting holster matches the exact handgun and configuration, completely protects the trigger area, avoids every control, provides appropriate retention, secures to the intended belt or platform, and remains stable through normal activity.
Define the lawful purpose first. Use the maker’s current fit chart. Perform only controlled unloaded checks. Reject gaps, interference, improvised modifications, and unstable attachment. Then take qualified instruction before any live-fire holster work.